2019 Physical Computing Workshop
Simulating circuits online tinkercad.com/circuits
Hardware and software helper circuito.io
Code reference https://www.arduino.cc/reference/en/
Code reference https://sparkfuneducation.com/classroom-downloads/arduino-cheatsheet.html
Tutorial resource https://learn.adafruit.com
Tutorial resource https://learn.sparkfun.com/tutorials
Tutorial resource https://www.arduino.cc/en/Tutorial/HomePage
Forum https://arduino.stackexchange.com
Forum https://forums.adafruit.com
Forum https://forum.arduino.cc/index.php
Ideas for mechanics https://www.mekanizmalar.com
Ideas for mechanisms http://507movements.com
Sourcing components https://www.elfa.se/
Sourcing components https://www.electrokit.com/
Sourcing components https://www.conrad.se/
Sourcing components https://www.farnell.com/
Sourcing components https://eu.mouser.com/
Sourcing components https://www.pololu.com/
Sourcing components https://www.digikey.se/en
Electronic Components for CAD https://www.traceparts.com/
Electronic Components for CAD https://www.3dcontentcentral.com/
Electronic Components for CAD https://grabcad.com/
Electronic Components for CAD https://github.com/KiCad/kicad-packages3D
Electronic Components for CAD https://library.io/explore/3dmodels
Electronic Components for CAD https://github.com/FreeCAD/FreeCAD-library/tree/master/Electrical%20Parts
And often from the manufacturer’s site
Arduino Cookbook (already mentioned in email, in the project folder on the shared drive)
Electronics For Dummies (already mentioned in email, in the project folder on the shared drive)
Tutorials
Sparkfun Online Experiment Guide
Day 1: Introduction, Blink & Potentiometer
Downloads
Tutorials
Circuit 1A: Sparkfun Blink
Circuit 1B: Sparkfun Potentiometer
Coding Concepts
All references on Arduino site
void — data type used with functions to return nothing
int — data type that returns an integer (no decimal)
setup(); — runs once before the loop
loop(); — runs repetitively over and over
How to write and call your own function
return val; — returns something from a function
pinMode(pin, val); — sets up a digital pin (i.e. INPUT or OUTPUT)
digitalWrite(pin, val); — writes a pin to output HIGH or LOW
analogWrite(pin, val); — writes a pwm (~) pin between 0 and 255
digitalRead(pin); — reads a 1 or 0, high or low, 0V or 5V, on a digital pin (i.e. button)
analogRead(pin); — reads a sensor from 0 – 1024 on analog pin (i.e. potentiometer)
delay(val); — stops the processing of the board and waits for “val” millis
Information about serial and the functions
Serial.begin(val); — starts the serial communication at a “baud” rate so that the computer and the board can communicate
Serial.print(val); — prints a value to the serial monitor without a line break
Serial.println(val); — prints a value to the serial monitor with a line break
How to calculate the slope of a line (mx+b=y)
Easing equation calculator
Hardware Concepts
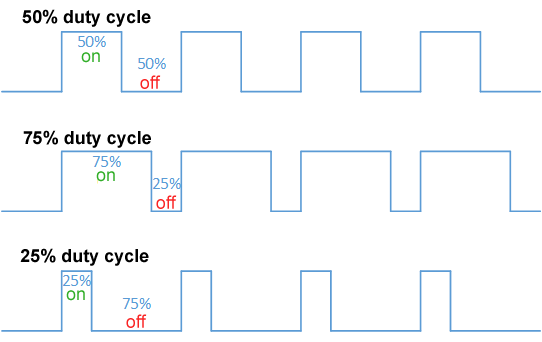
Most of what we are working with is 5V right now. Therefore, analog reads in a resolution of 0 – 1024 and digital PWM (pulse width modulation, duty cycle) from 0 – 255. As a result when voltage is read and output it is anywhere from 0 to 5V.

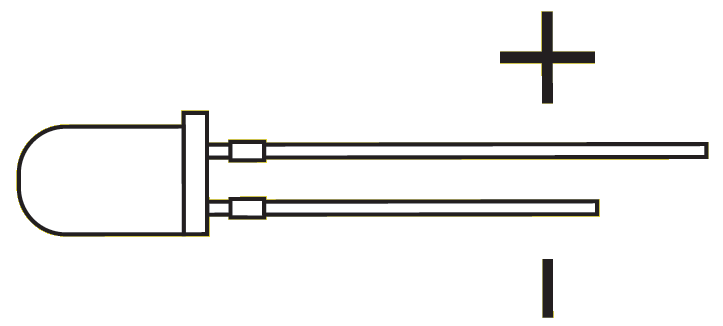
LEDs have both a cathode (-) and an anode (+) side. The longer leg is anode because it has more. The shorter leg is anode and has a notch cut from the bulb because it has less.

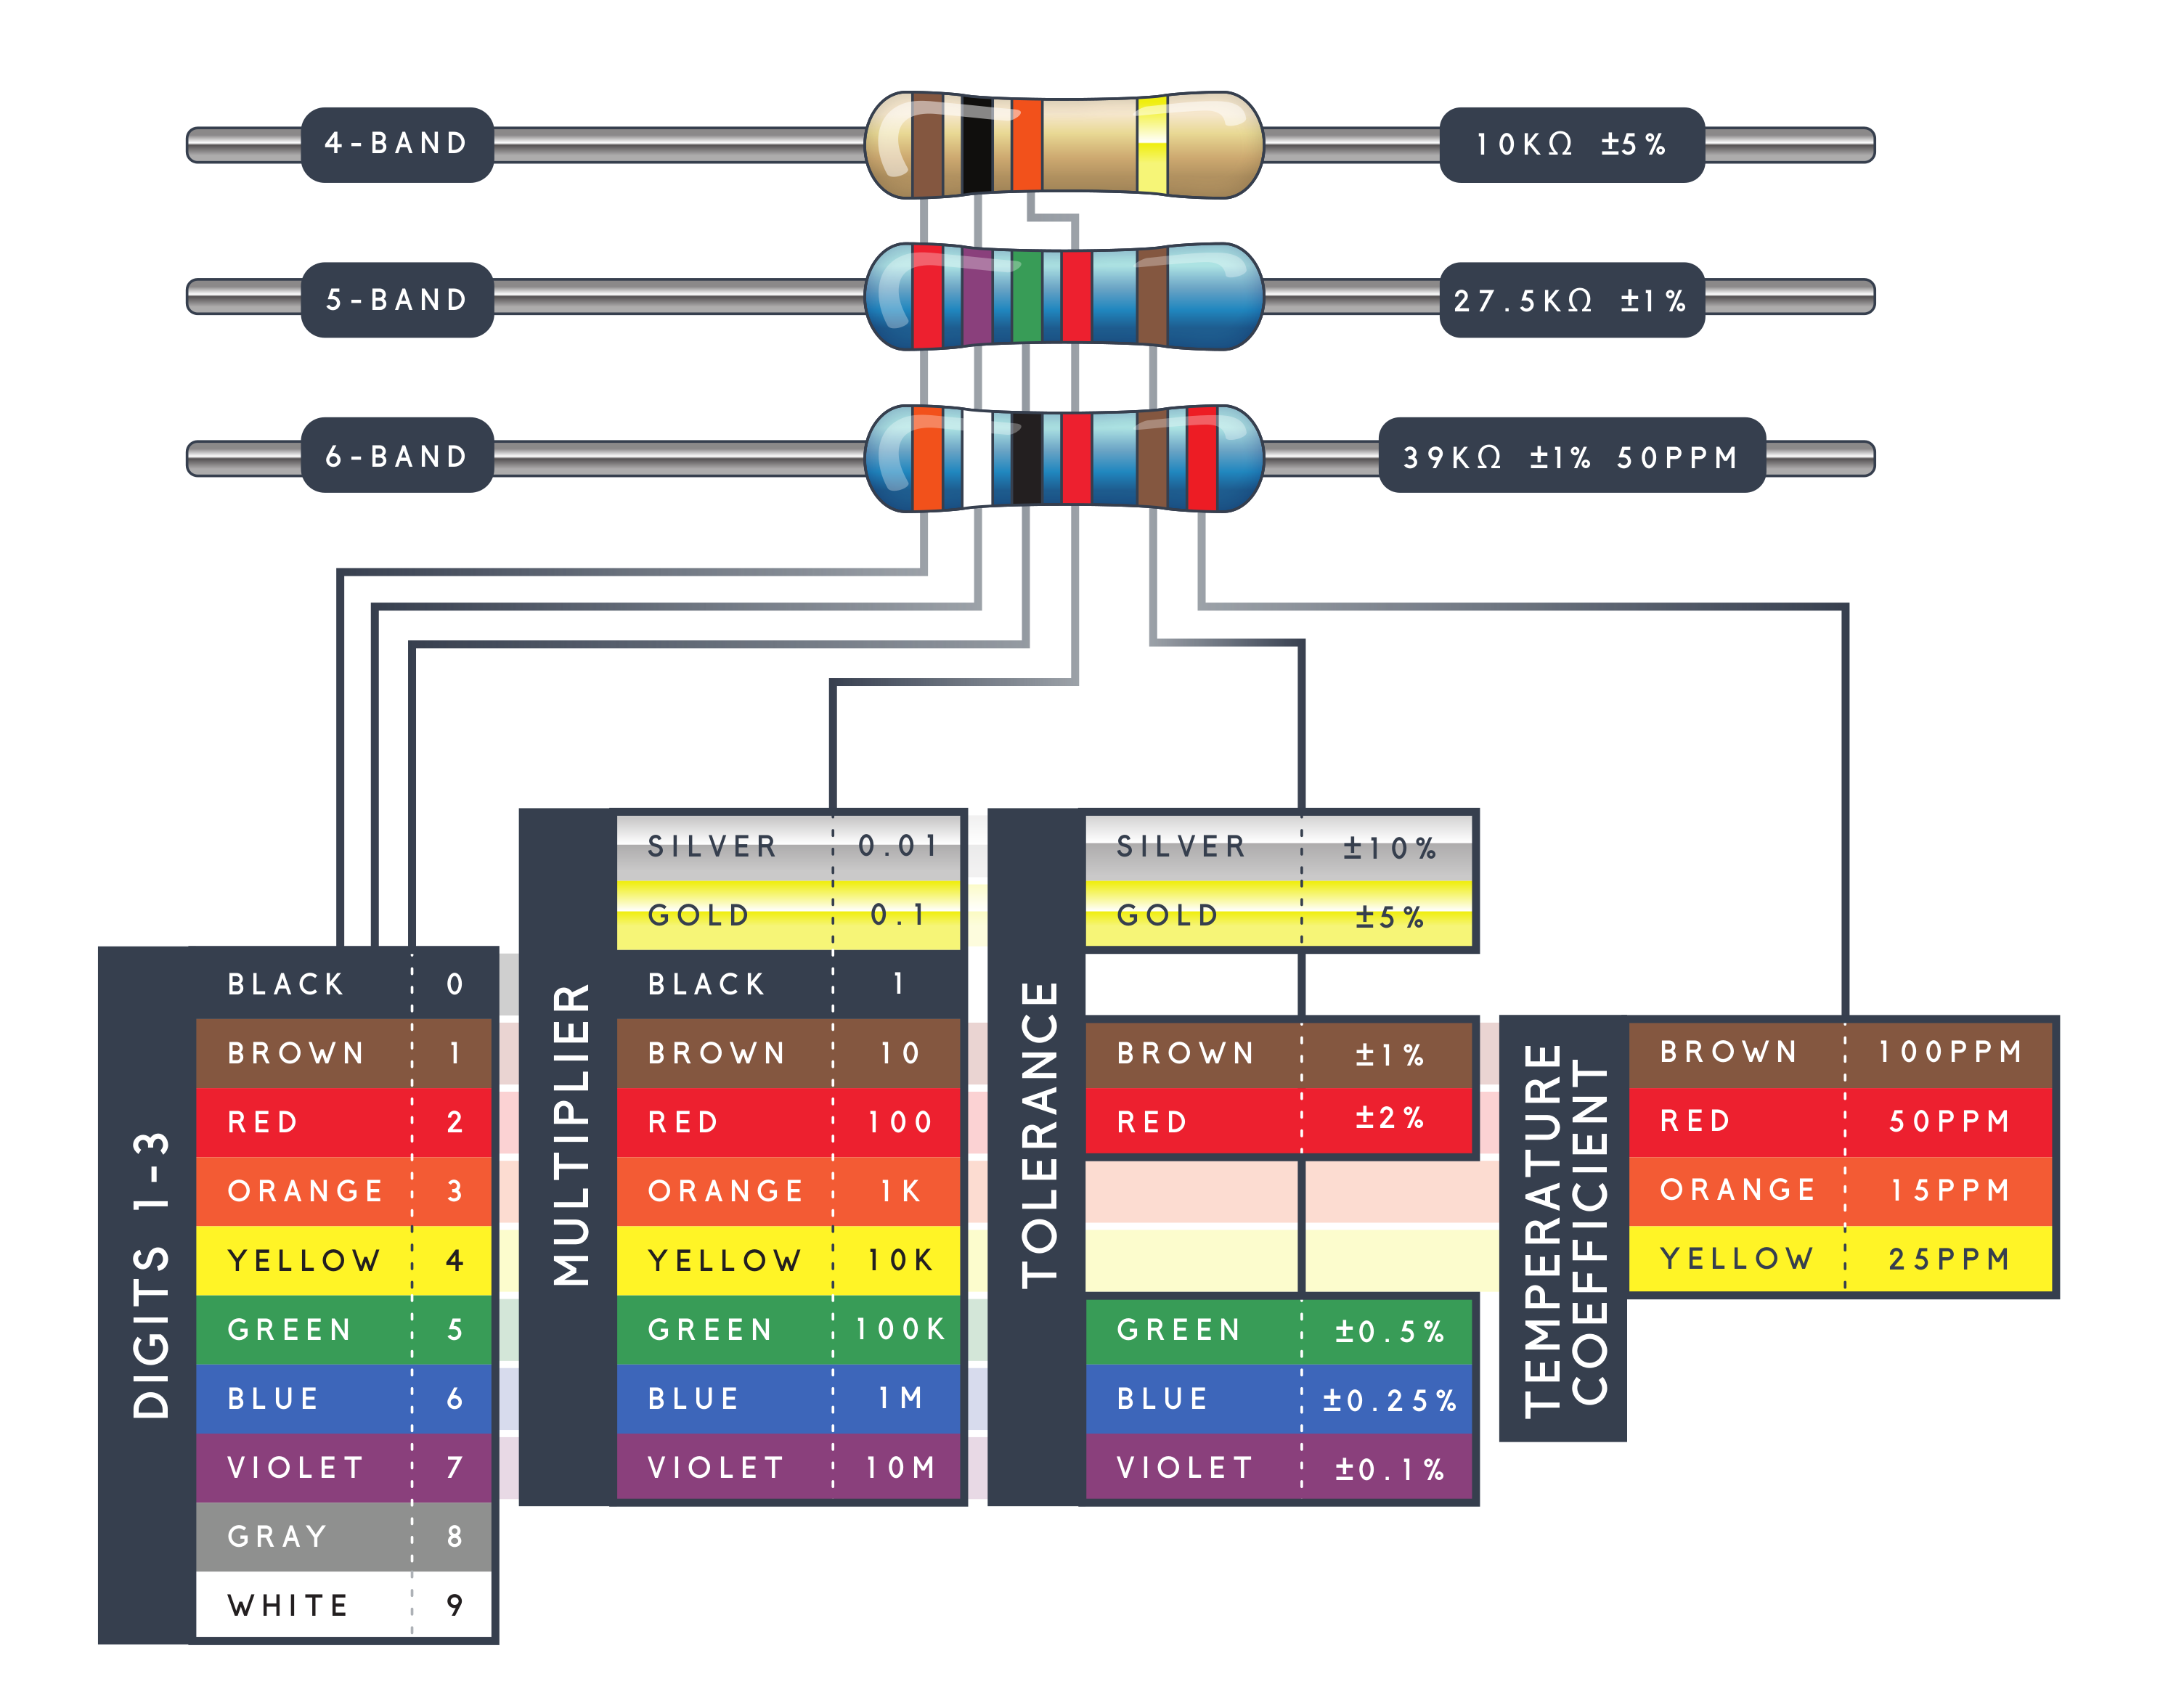
A resistor acts to impede (I) the electricity. They will reduce the voltage according to Ohm’s Law ( Ω )

A potentiometer is like a resistor that can be adjusted to provide more or less resistance. It should be connected to an analog pin when being read by an arduino and will return a value between 0 and 1024. A potentiometer is marked with a resistance in ohms, representing the max impedance (I).

Day 2: Electricity, Coding Concepts, Photoresistor
Downloads
Troubleshooting
Troubleshooting USB Driver Problems for Mac
Another Resource for Troubleshooting FTDI Drivers
Tutorials
Circuit 1C: Sparkfun Photoresistor
Switch Debouncing and Pull-ups
Day 3: Button cont., Servo
Downloads
Tutorials
Coding Concepts
#include <Library.h> — includes a library, like Servo.h, to utilize in the code
Information about delays and millis
millis(val); — reads the internal clock
delay(val); — stops the internal clock and waits
array[] = {}; — creates an addressable matrix of values